Showing posts with label Nursery. Show all posts

Nov 19, 2015

Rory's Nursery


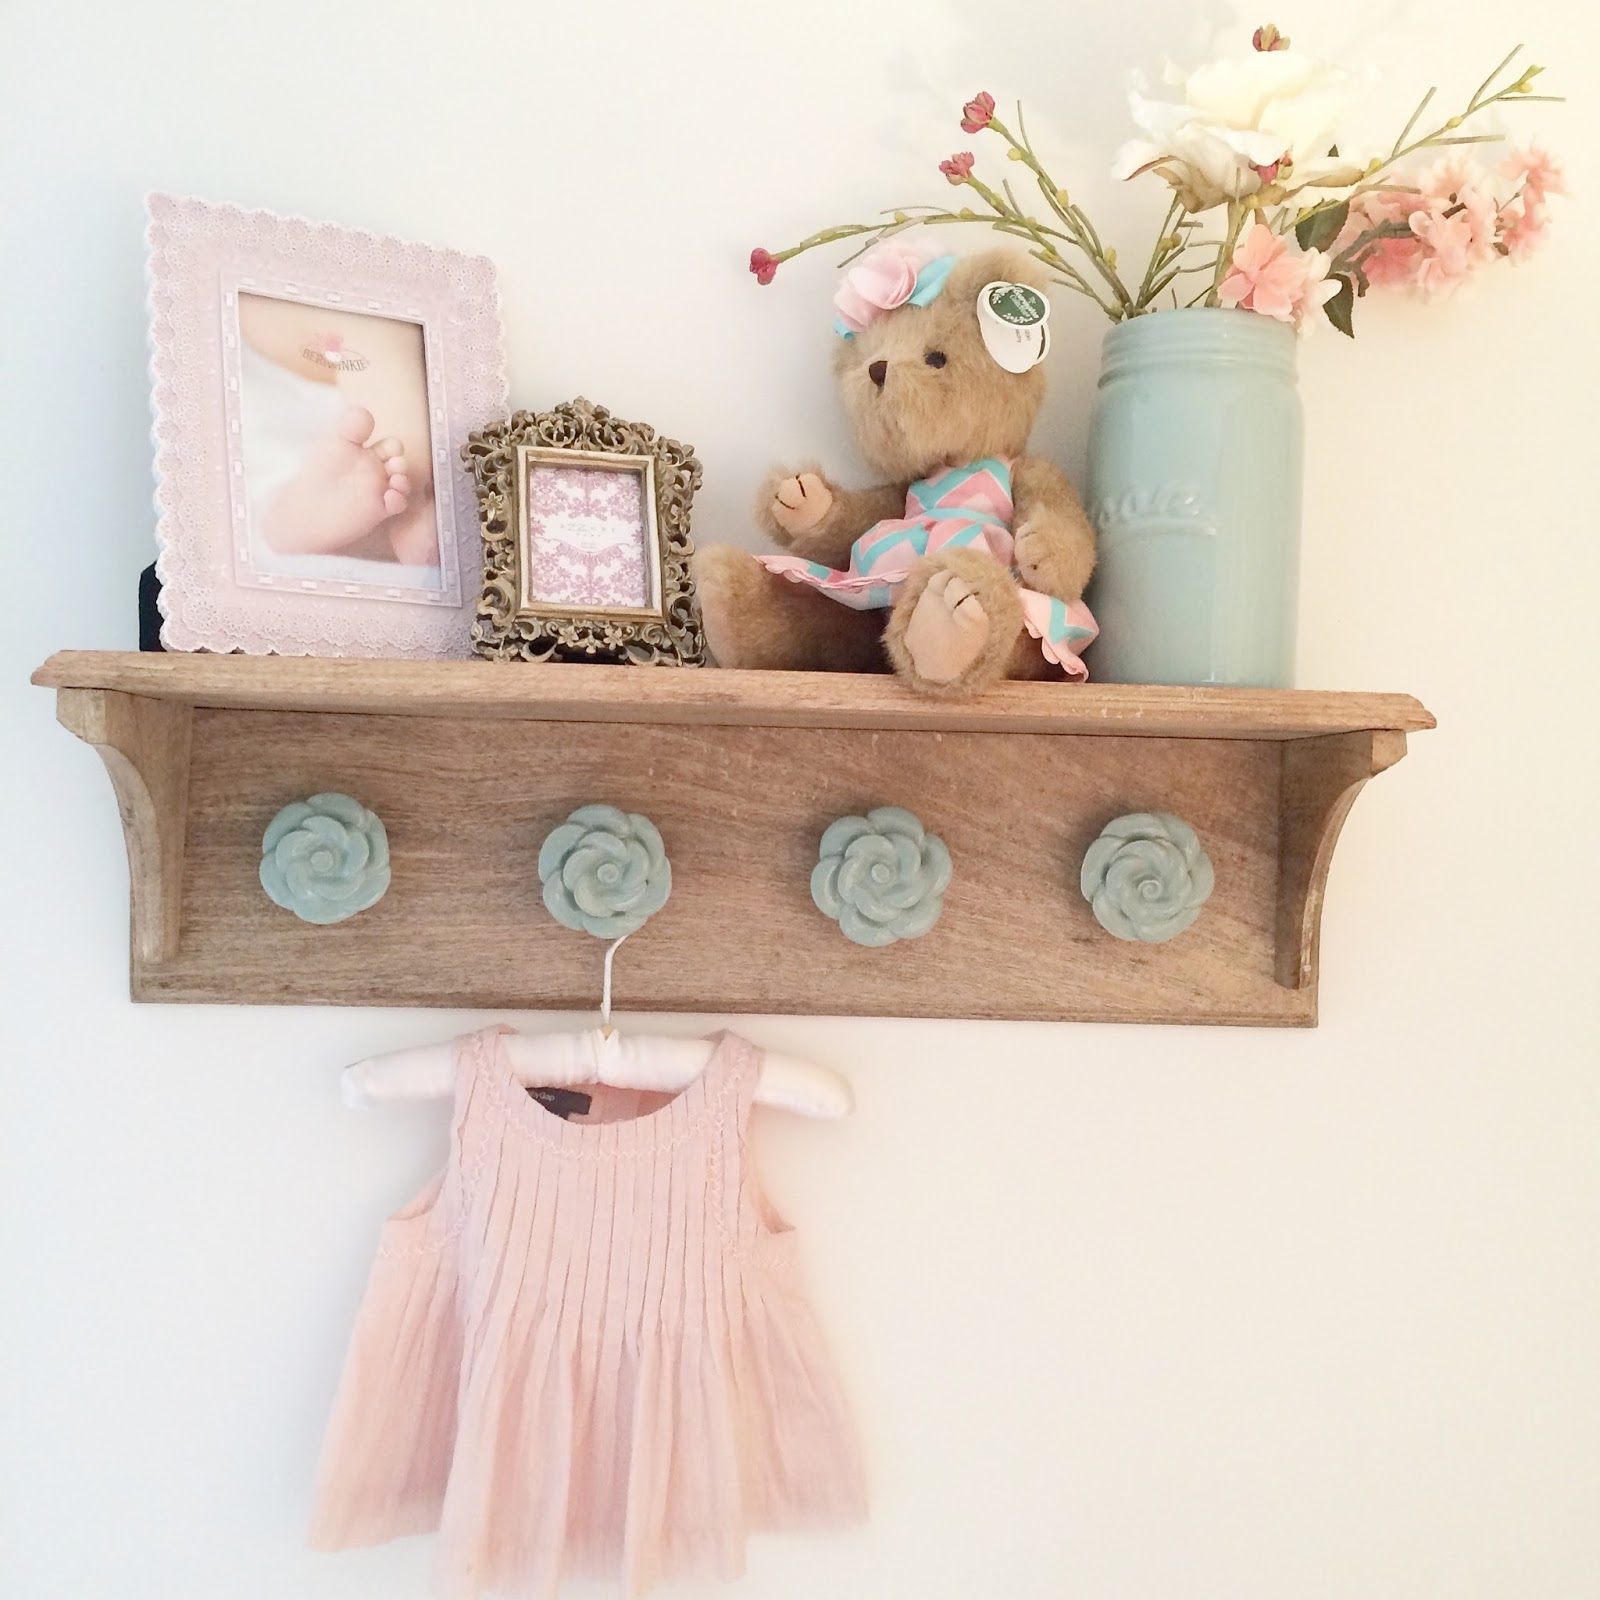
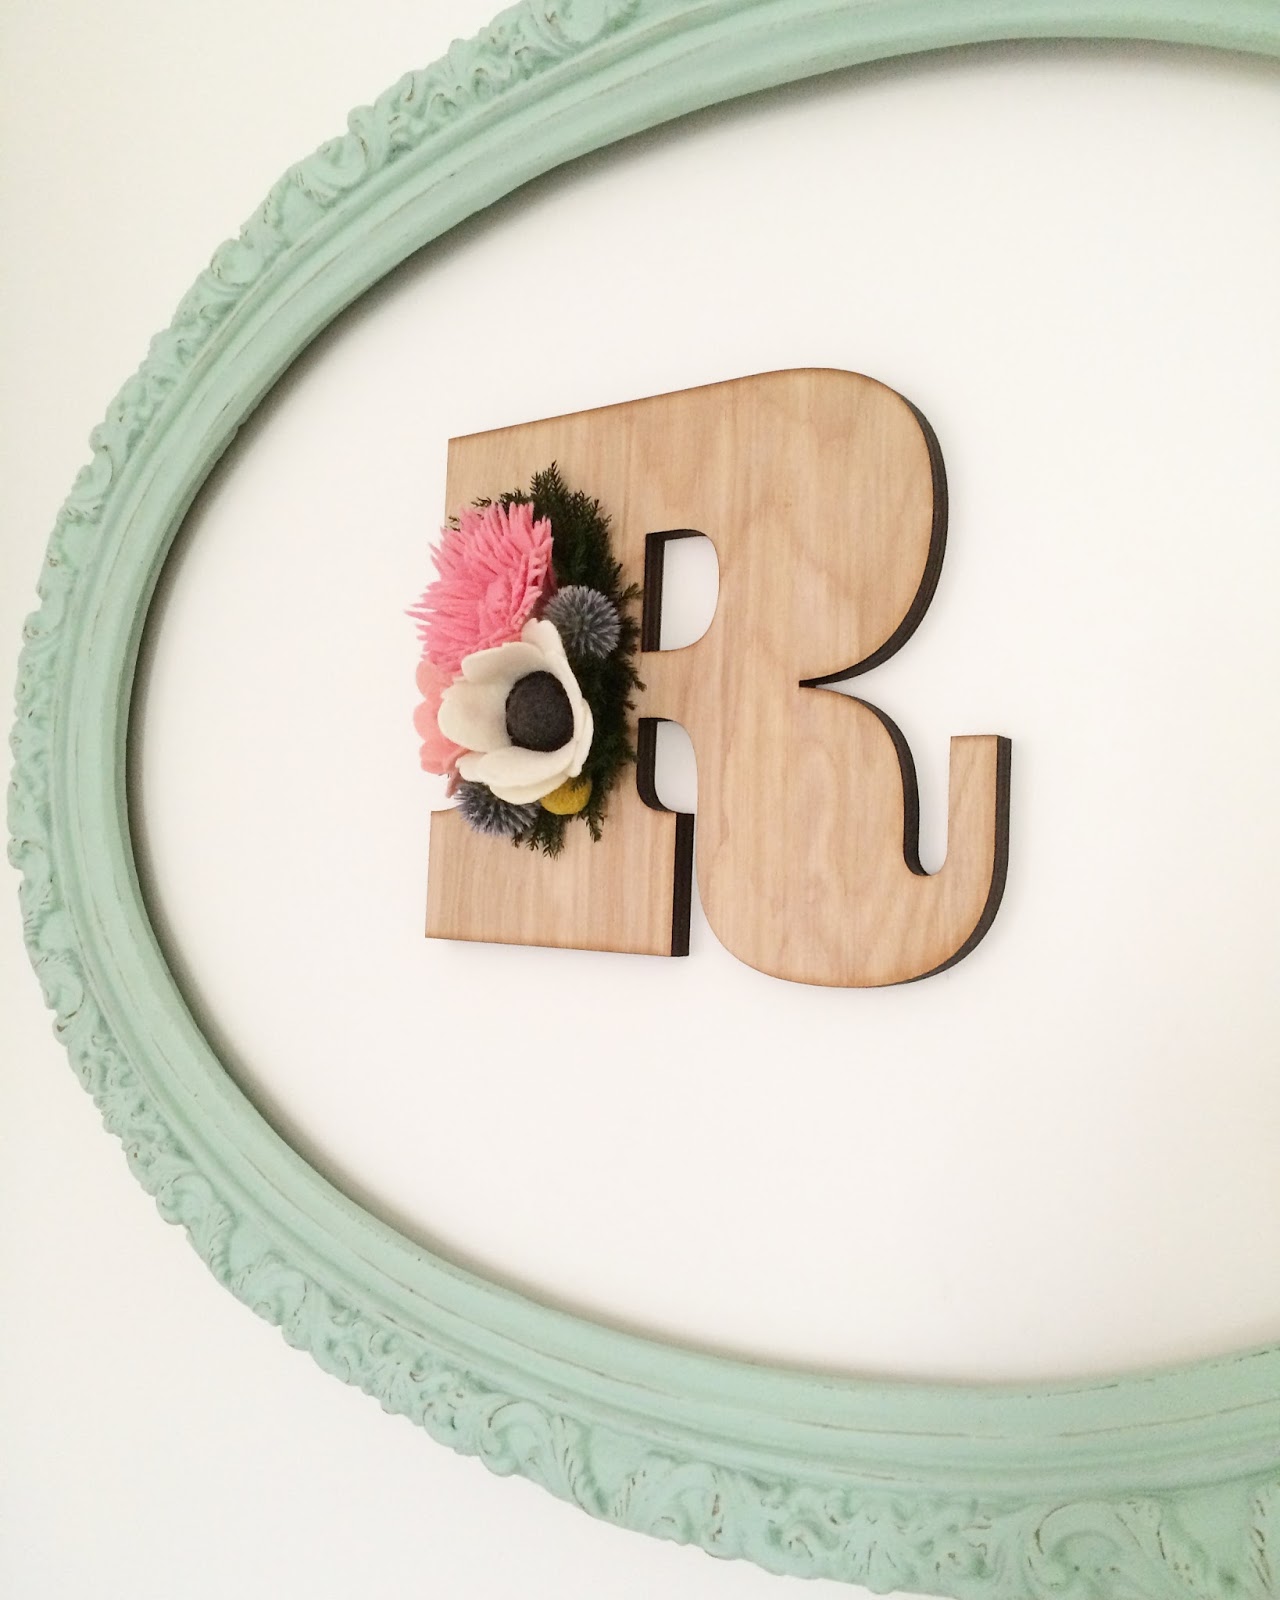
This post has been a long time coming, mostly because it took me an extra long time to finally complete Rory's nursery due to the fact that we didn't decide on her name until she was a day old.  And I'm all about the personalized touches and that's impossible to do without a name!

Her room was initially a huge challenge for me.  I had a hard time feeling inspired to work on it partially because I knew we were moving to a new home around the time I was 27 weeks pregnant and I didn't see the point in doing much until I knew what kind of space I would be working with.  But also because I absolutely loved Ryan's nursery and so I felt like I had already created my dream little girl's nursery.  How could I top that?  I suppose this was the same issue we had in naming Rory, we had already used our top girl name.  Ha!

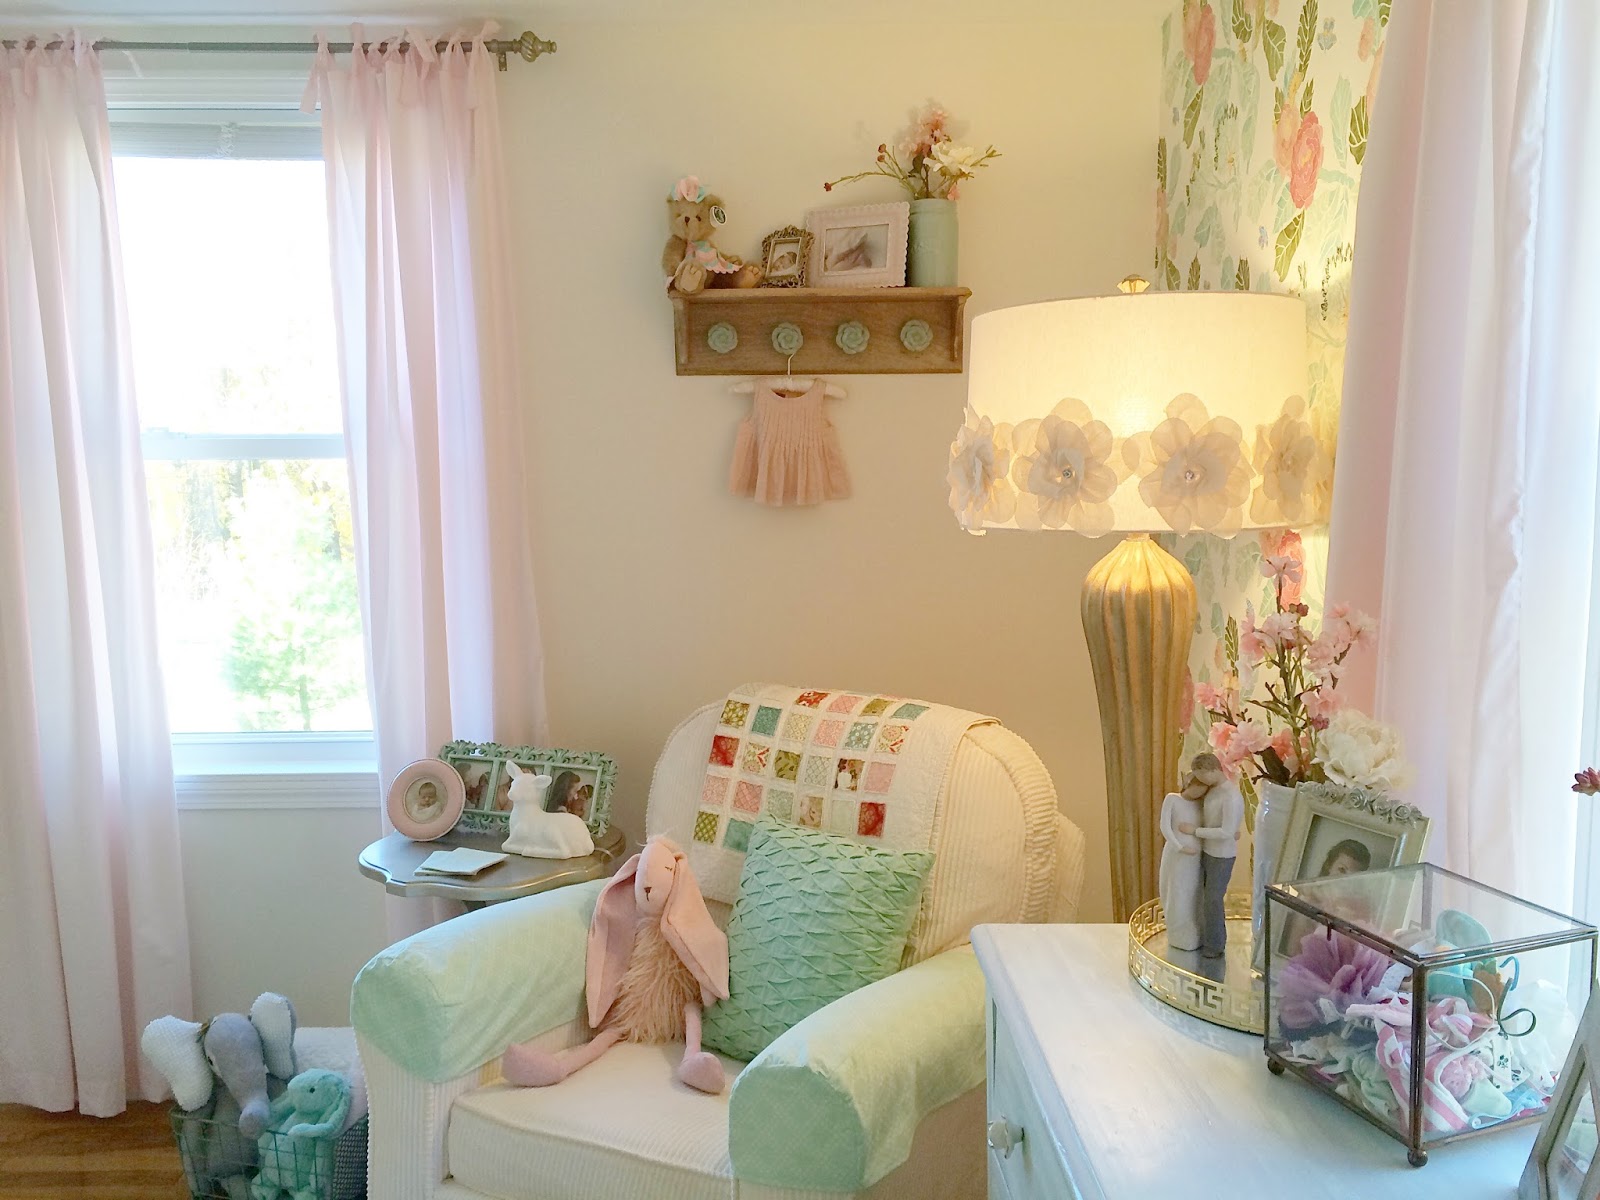
I wanted Rory's space to be all her own but I also planned to use almost all of the furniture from Ryan's nursery and Ryan's crib bedding.  So initially, all I could picture was Ryan's room with all of the same stuff.  However, I knew I had seen this stunning pink peony wallpaper from Anthropologie while I was pregnant with Ryan.  The problem was we were apartment living at the time and I knew we would be moving for residency so I didn't see the point in investing in wallpaper for a short term amount of time.  I started thinking that perhaps I could use the wallpaper as an accent wall for Rory's room.  Around the same time, Josh and I went to the Brimfield Antique Fair.  I was kind of searching for something that stood out and and could be my inspiration piece for the nursery and sure enough, I came across the most adorable refinished mint dresser.  I knew it would go perfectly with the wallpaper should I decide to buy it and from there, Rory's pink, mint, and gold nursery was born.

Rory's room is my (second) dream room.  It is completely different than Ryan's room, even with the same furniture and bedding.  I could sit in there for days on end and for me, her room is what I imagine heaven feels like.  It is dreamy and peaceful, utterly beautiful and whimsical all at the same time.  And it really was such a joy to create.


And not to toot my own horn, but I submitted her nursery to Project Nursery's website and it was nominated for one of the best nursery's of November.  If you feel so inclined, please consider voting for her nursery to win!  Also, if you are interested in knowing where most of the pieces in the nursery are from, you can view the room HERE and find links to many of the items.


Jun 6, 2013

Nursery Reveal

Ryan's nursery is finally done! 

It's been a long time coming, but I have completely enjoyed the creative process behind designing a nursery for my baby girl.  I suppose the nursery is more for me rather than Ryan, since she would probably be fine in a pack-n-play until age 2, but I am happy that I got to create a special space for us.  It's quickly become my favorite room in the house.

My "theme" so to speak evolved over time, but overall, I wanted something with a vintage, shabby chic touch.  My color scheme was light neutral colors of beige, ivory, and petal pink.  My Mom was a HUGE help during the entire process creatively and financially.  I can honestly say it wouldn't have been possible without her.  I think she may be just as excited about her first grandchild as I am about my first child.

The room is small, so there is a lot of furniture packed into a small space, but I think since everything is light colored, it doesn't overwhelm the room too much.  I am posting links to MOST of the items in the nursery, just in case any of my readers (all 10 of you) might be interested.
Glider, Ottoman
Drape Panels, Sheer Panels, Window Hardware

Nightstand bought at an antique store in Downtown Bakersfield. 

Wall Frames
The beautiful light chandelier was a gift from my Cousin Courtney that she found at an antique store in Bakersfield.  It was the absolute PERFECT addition to Ryan's room.


Changing Table DIY
Shelf DIY, Pink Floral Knobs, Changing Pad Fabric
The changing pad cover, throw pillows, throw blanket, and porcelain doll dress were all sewn by my Mom with the same fabric linked above. The pink vases are from Michael's Arts and Crafts Ashland Collection and the fake flowers are from Michael's as well.  The wall clock was purchased at a scrapbooking store in Bakersfield.

Crib, Bedding
Letter DIY, Crystal Mobile DIY

White Plush Bunny, Pink Plush Bunny
The dresser was refinished just like the changing table was. Check out the above link to the changing table DIY to see how.
Basket from Kohls, spray painted white.

Mirror
The headband jar is from Michael's.  They have a large assortment (all shapes and sizes) of glass jars and vases that could be used for hair accessories.
Pink Lamp Shade

I bought the birdcage at Michael's as well as all the things that I filled it with.  A small pink bird, nest, moss, and fake flowers were assembled inside the birdcage.    The lamp base was purchased at an antique store in Bakersfield.  The "Ryan" piggy bank was a gift from my friend Julie.  My guess is that it's from Etsy.

Overall, the nursery is a combination of purchased items from places like Restoration Hardware Baby & Child, antique stores, and do-it-yourself projects.  While there was definitely a lot of money spent on some of the pieces in the nursery, I feel that by incorporating lots of DIY projects, I saved quite a bit of money and also have the satisfaction of knowing a lot of love and time was put into the room.

So, I'm in love with the room.  Are you?

Jun 2, 2013

And Her Name Is...

...RYAN!

We are still middle nameless, but baby girl's name has been Ryan for quite some time.  While I'm sure there are many opinions about using a traditionally boy name for a girl, let me just say that we love it and it just so happens to be her Daddy's middle name.  So it's special to us and if you aren't a fan, well, keep it to yourself please. :)


Once the name was finalized back in February when we first found out Ryan was a she, I got going on a DIY name project for her nursery.  All you need are some white wooden letters from Michael's, scrapbooking supplies in the color scheme of your choice, and a bit of Mod Podge. 


Trace the letters on the scrapbooking paper and then use an exacto knife to cut it as close to the wood letters as possible.
Then use a brush to Mod Podge the paper to the letters.  Watch out for bubbles in the paper!  I did two coats.
Decorate with stickers, paper flowers, ribbon, whatever.  And enjoy!


May 23, 2013

DIY Nursery Mobile

Today I finished yet another nursery project that's been on the backburner for quite some time.  I can't claim that I was the creative genius behind this idea.  It's hard to remember if I originally saw it on Pinterest or if it was just Googling nursery ideas, but the inspiration came from this blog tutorial (isn't her nursery adorable).  I did my crystal and pearl mobile very similarly but I will detail my exact way of doing it here because I tweaked it slightly.  If you are confused, you might want to check out the original one!

First things first, gather your supplies. 

You will need:

1. Wire wreath (originally green) spray painted the color of your choice.  I went with white.  This can be found at most craft stores but I got mine at Michael's.  The wreath will NOT have that cross thing in the middle. I added that (made from a coat hanger) because I wanted to add a string to the middle and I wasn't initially sure how I planned to hang the mobile and I wanted "options."  Adding this is not necessary though.
2. Crystals, pearls, beads.  Again, go to Michael's and check out their jewelry making section.  They have TONS of colors and beads to choose from.  I used a couple different sized clear crystals as well as baby pink pearls.  However, word to the wise, go on a day they are having a sale or a day where you have a coupon.  Depending on how many strings and beads you plan to use, this can be a little pricey.

3.  Fishing line to hang from ceiling (#20 found at Sports Chalet), jewelry making line (#6 found at Michael's), and whatever you want to use at the top around the wreath.  I used burlap and a white rose ribbon.
4. White Swag Hook Kit.  Can be purchased at Home Depot.

The first thing I did was using the 20# fishing line, tie 6 long strings to each of the "knobs" on the wire wreath.  You are going to want to make sure this thing is level before you hang a bazillion strings of crystals to it.  I didn't have much of a problem leveling this out.  I then tied all six strings in about 1 million knots 4-5 knots.  I left excess line at the end to use to hang the mobile with.

**Note: You are going to need to find a place to hang this mobile while you are making the strings and attaching them as to avoid it getting into a tangled mess.  I used a top closet rail.

Then, begin making your strings of beads with the #6 line.  I did this "semi" randomly.  I say semi because while I didn't specifically measure the length of each string or how far apart the beads were from each other, I did have a somewhat pattern that I was following to even out the look.  This was partially because I was using different sized and colored beads.  If you are using the same beads for the entire mobile, this would probably not be as important but I didn't want the same color and size to end up all in the same place.  Maybe I'm a little OCD.
I tied strings to all four rings of the wreath and had no real issue with tangling as long as it was hanging.  I would say I ended up with approximately 50 different strings of beads.

I then cut and hot glued the burlap and lace flower ribbon together.  If you've ever dealt with burlap, then you know it can be difficult to use.  My nursery theme is "vintage-shabby chic" so I was okay with the fact that the burlap isn't cut perfectly.  If that's not your style, check out some other types of fabric or ribbon.  Then, hot glue the burlap to the outer ring being careful not to melt the fishing line that you used.
Lastly, I used a white swag hook kit from Home Depot to hang the mobile over the crib. I ended up just tying a knot and looping it over the swag hook.  So far it seems to be hanging very well.


I'm really happy with how it turned out.  I think it looks a lot better in person because my little point and shoot camera fails to pick up the "sparkle." But it's so sweet and adds so much to my nursery!


If you decide to make one, good luck!  And I can't wait to see how yours turns out. :)